
The technique of scanning to create incredibly detailed photographs can be challenging, but very rewarding. The camera is a flatbed scanner. The scanner we use is just an ordinary scanner we purchased to scan household documents, a Canon Canoscan 8600. Objects are carefully placed on the glass of the scanner, then the image is scanned from underneath. As the scanner is connected to a PC, the image downloads to the computer and can easily be brought into Lightroom or Photoshop for editing.
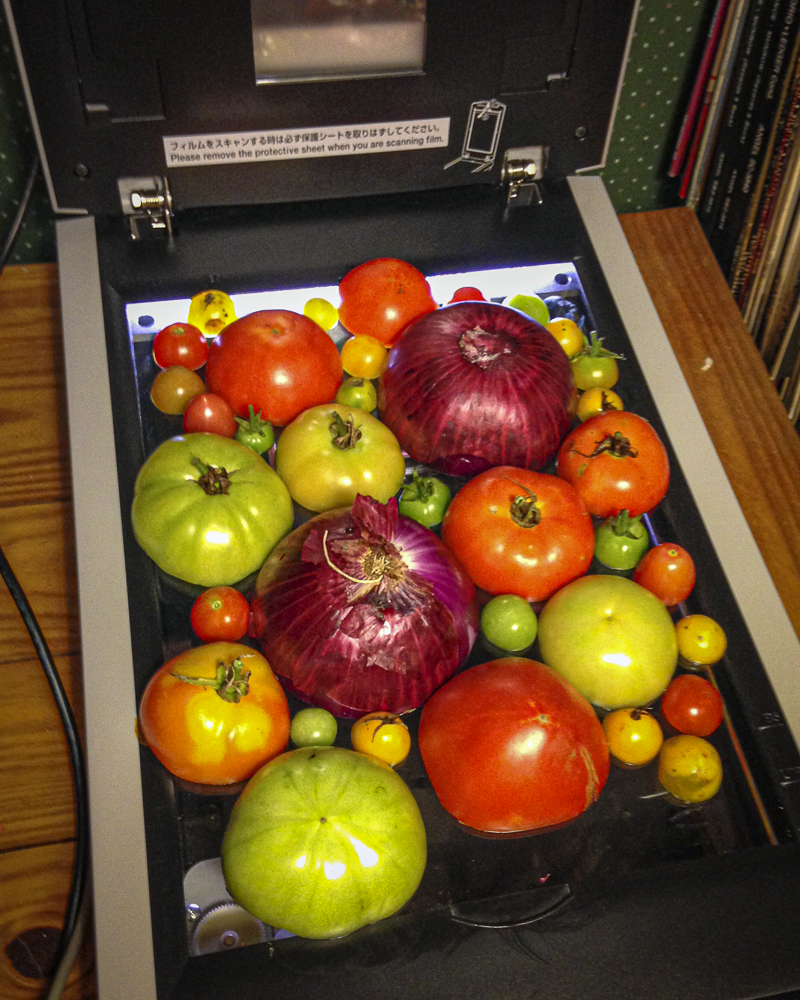
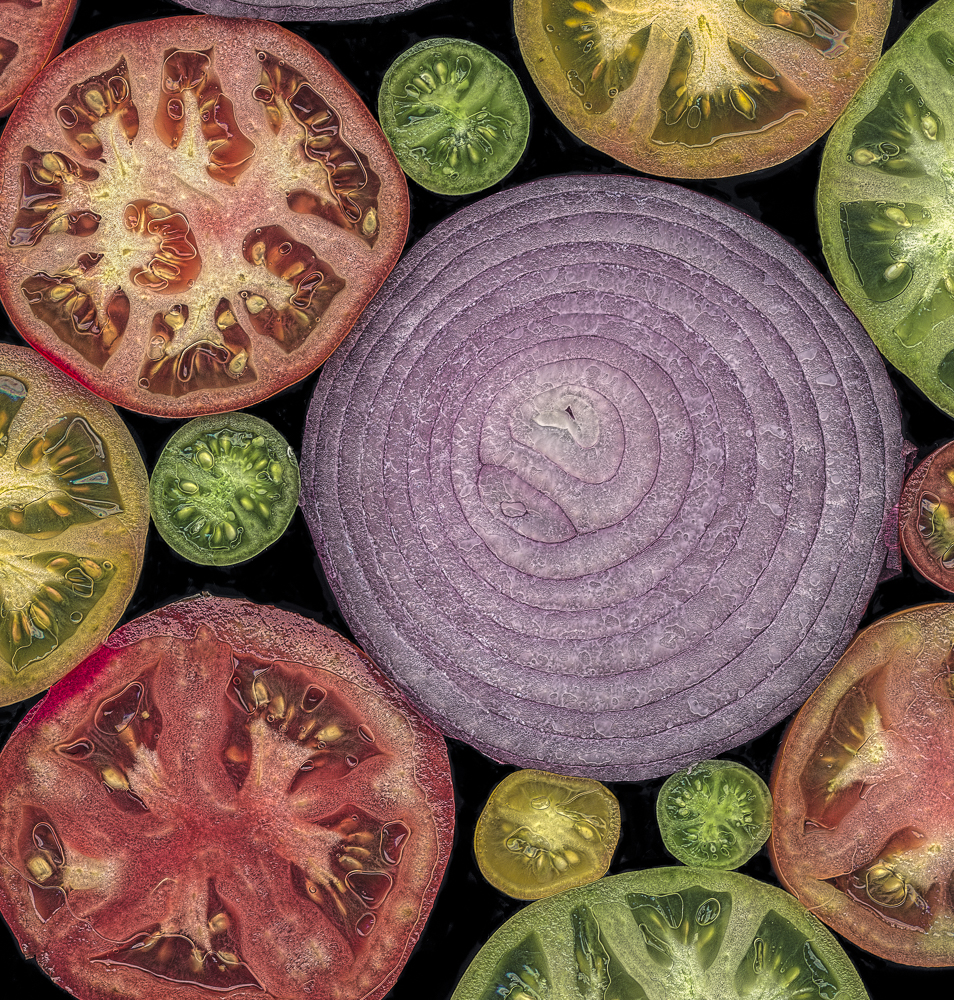
Here’s the set-up. The image on the left shows how onions and tomatoes were cut in half then placed face-down on the scanner. The image on the right is the scan from that set-up. Notice in the left image that the big onions were placed on the scanner on the bottom left and top right. In the scanned image, they are now on the bottom right and top left. Everything is not only upside-down, but reversed.
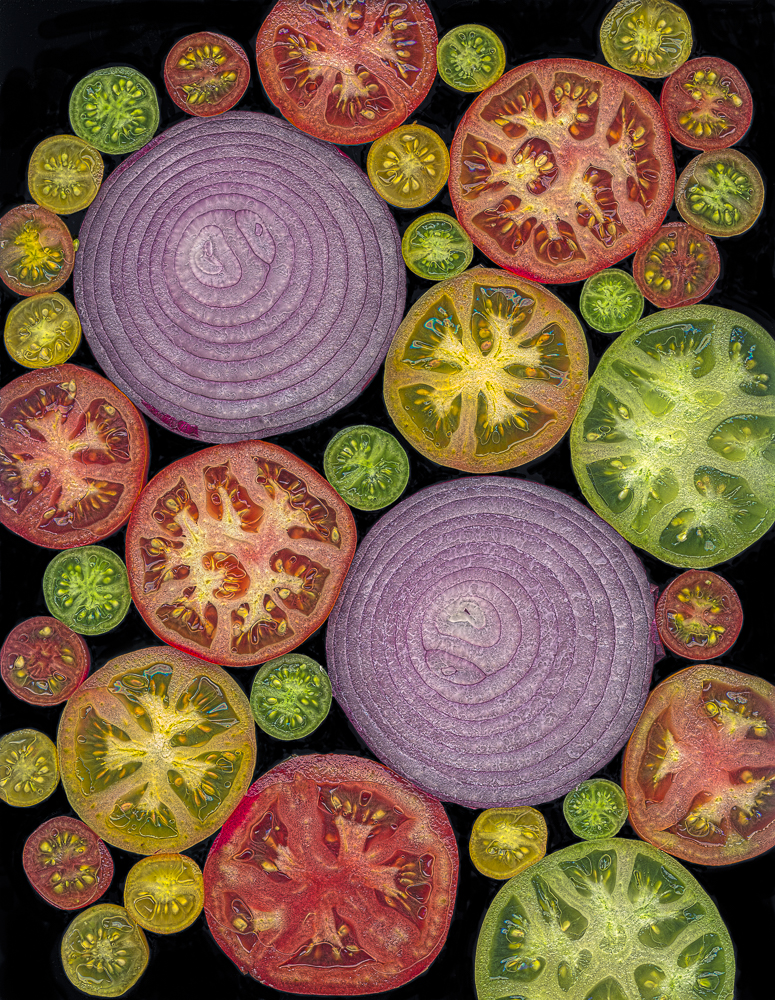
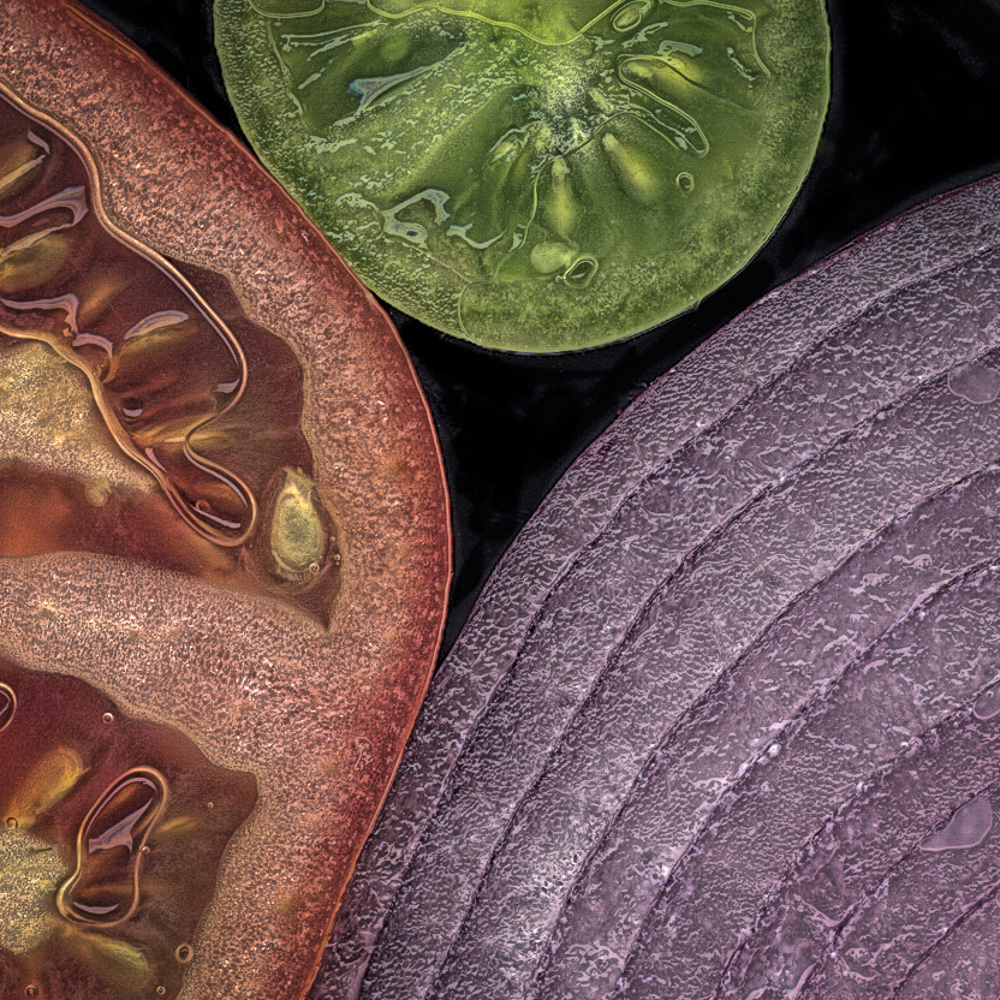
And here are a few versions of the same scan, just cropped in tighter to show the incredible detail:
This process is done in a room with daylight coming in a window – it does not have to be in a dark room. Avoid a bright overhead light directly above the scanner, but otherwise, don’t worry too much about ambient light in the room. The lid of the scanner stays open – the light from the scanner is quite bright and it falls off quickly, lighting only about an inch high from the scanner, then falling into darkness which is what creates the black background. Some background photoshop touchup may be needed if you want your background to be completely black.
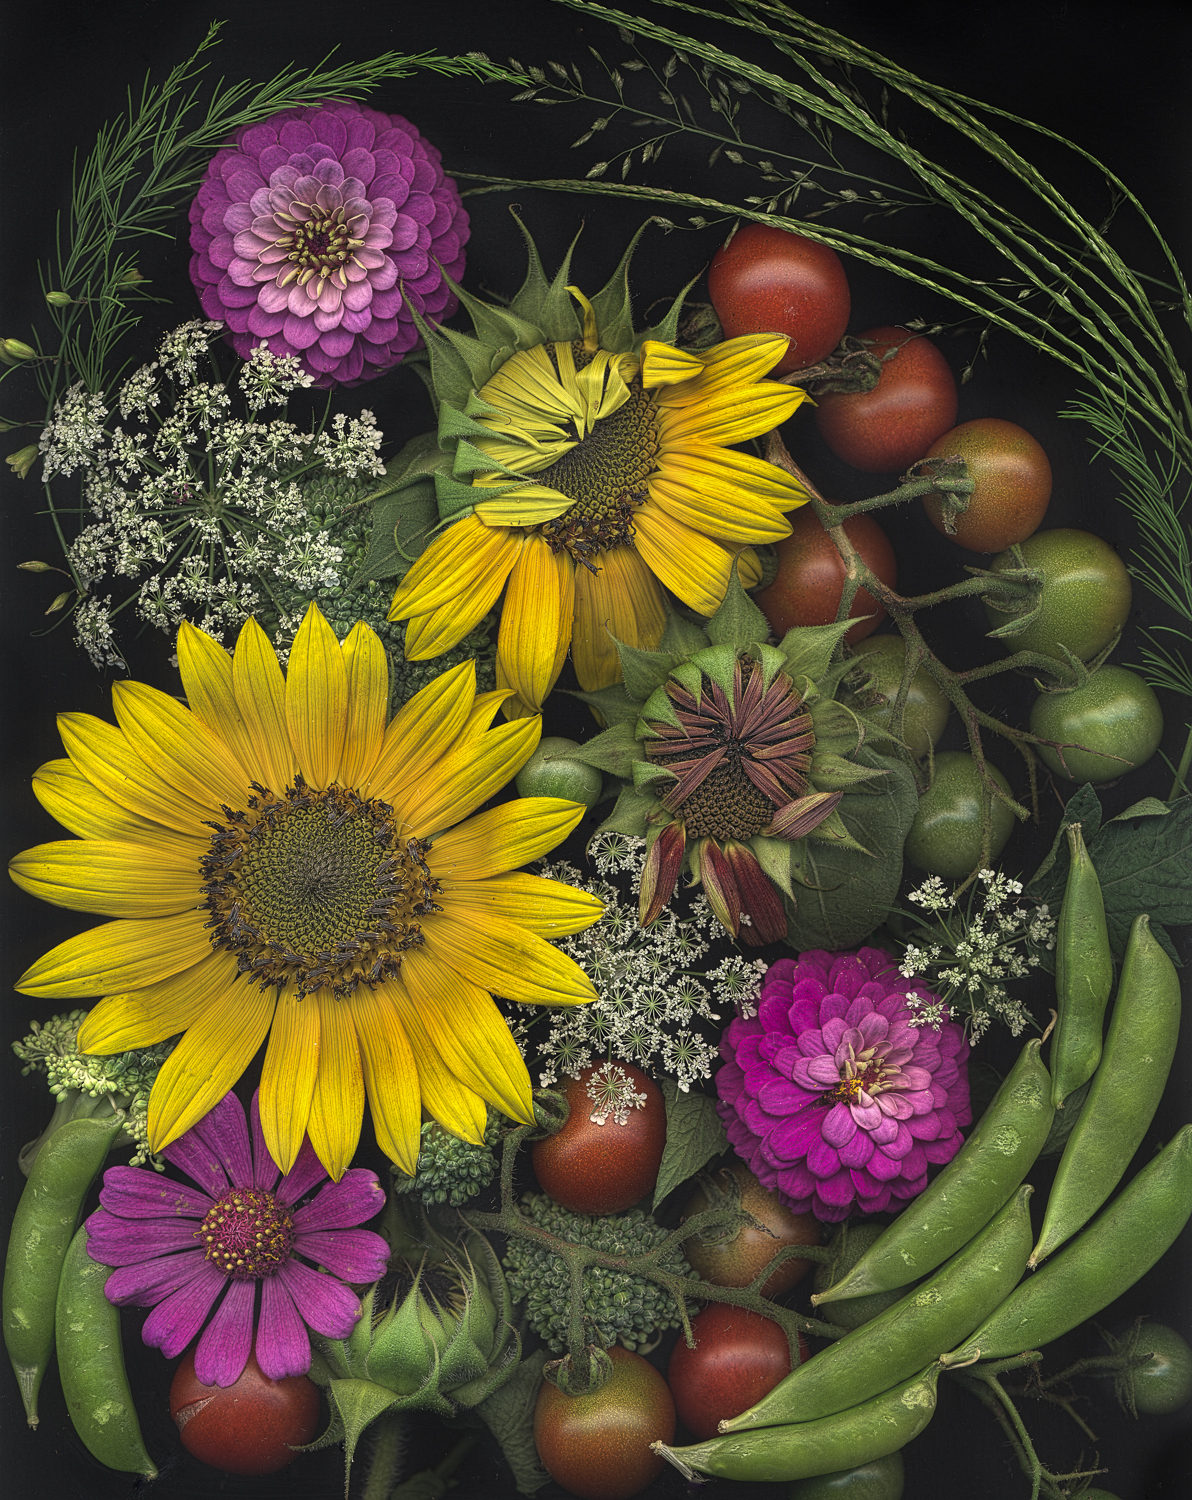
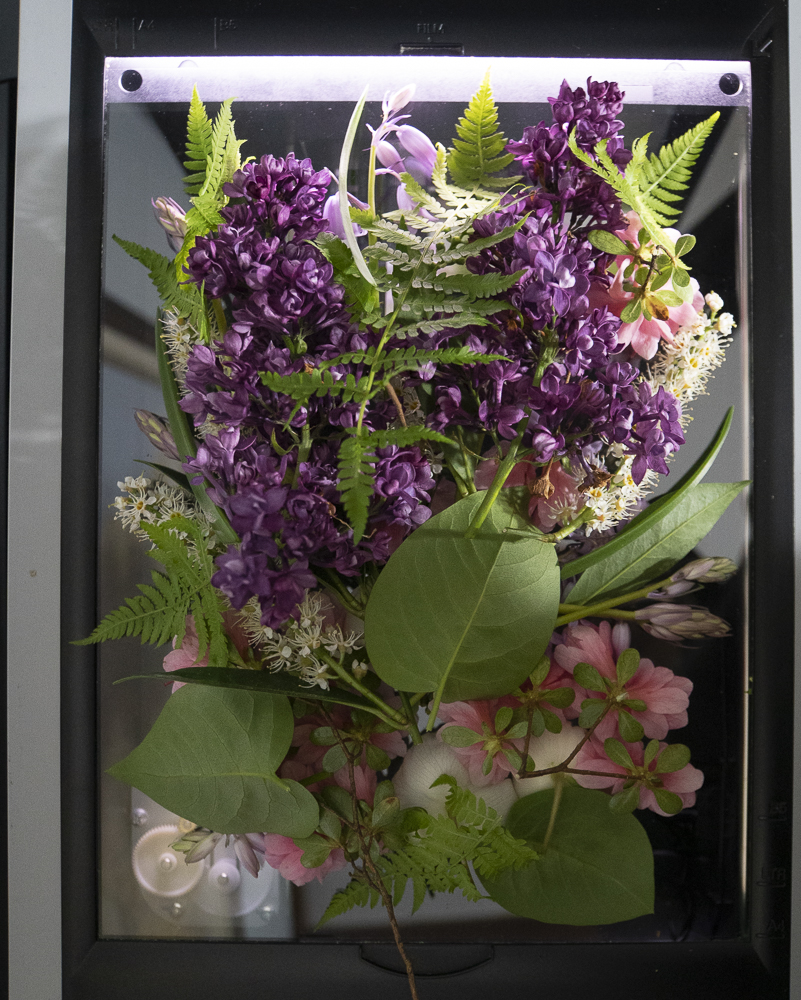
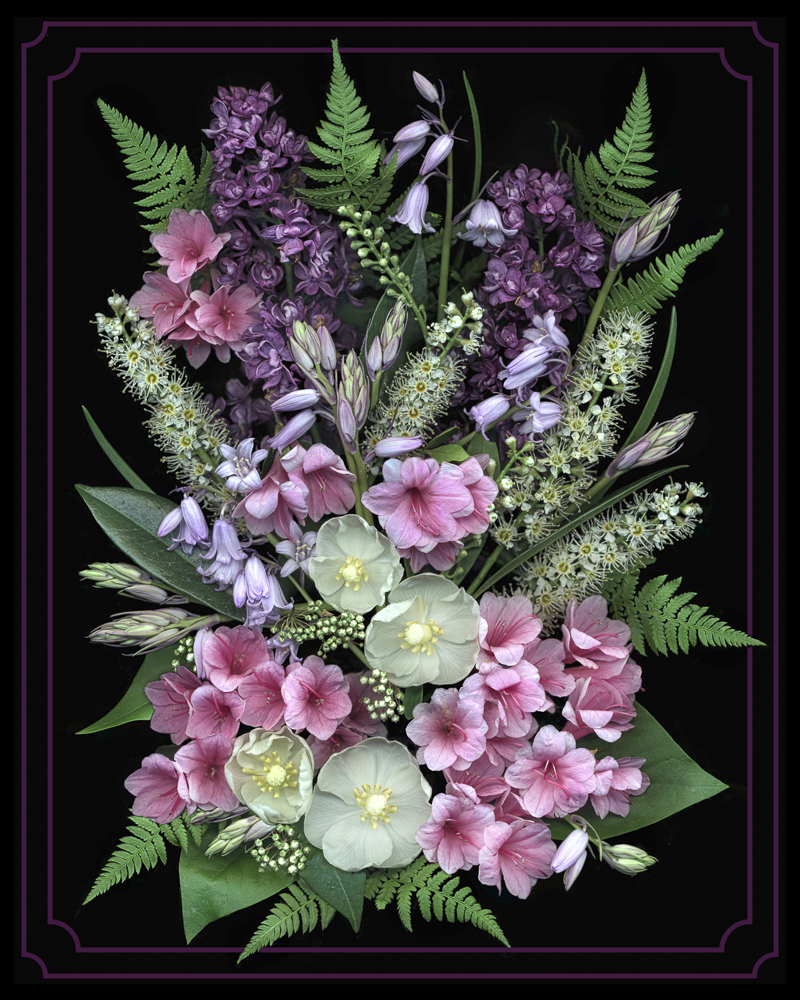
The tricky part of a complex set-up, like this next one, is that after gingerly placing objects onto the scanner into what you think is a good composition, it likely won’t look the way you envisioned it, as it is hard to visualize your composition when placing items down first that will end up on the top of items placed later. The image on the left is how the flower items were placed onto the scanner – looks like quite a mess, doesn’t it? The image on the right is the scan from that mess.
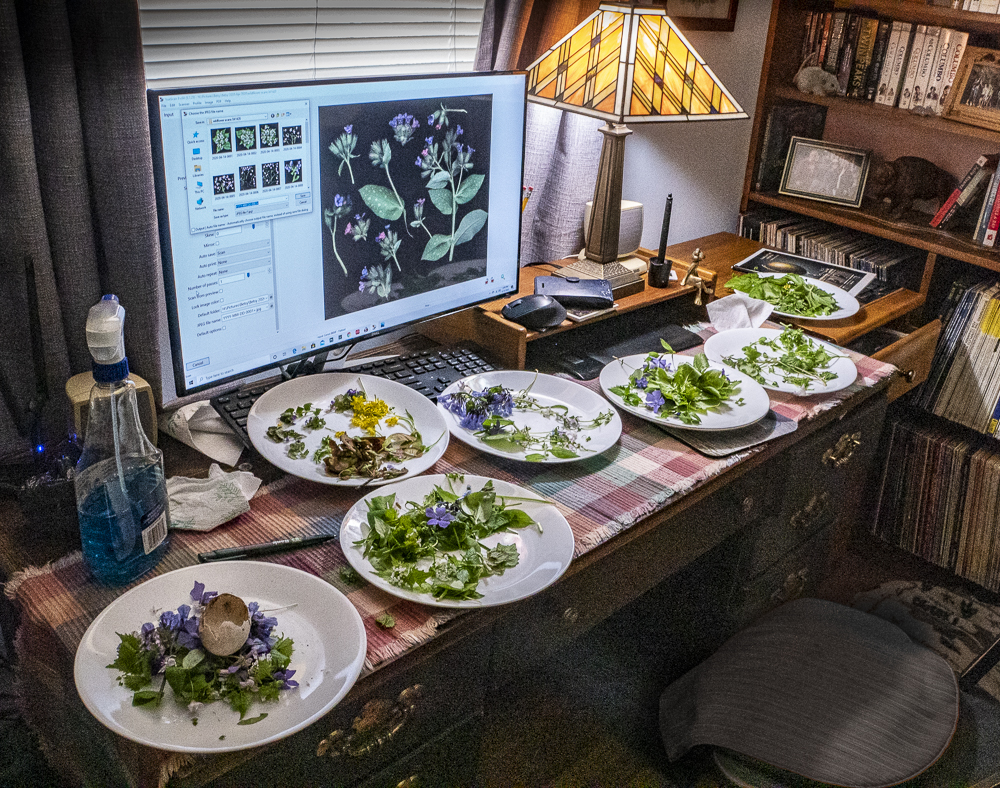
And I sometimes scan just parts of flowers that can be used later in photoshop to enhance an image. You can see the set-up in the image below, along with some flower parts appearing on the monitor. The Windex is there as you need to regularly clean the surface of the scanner in between scans.
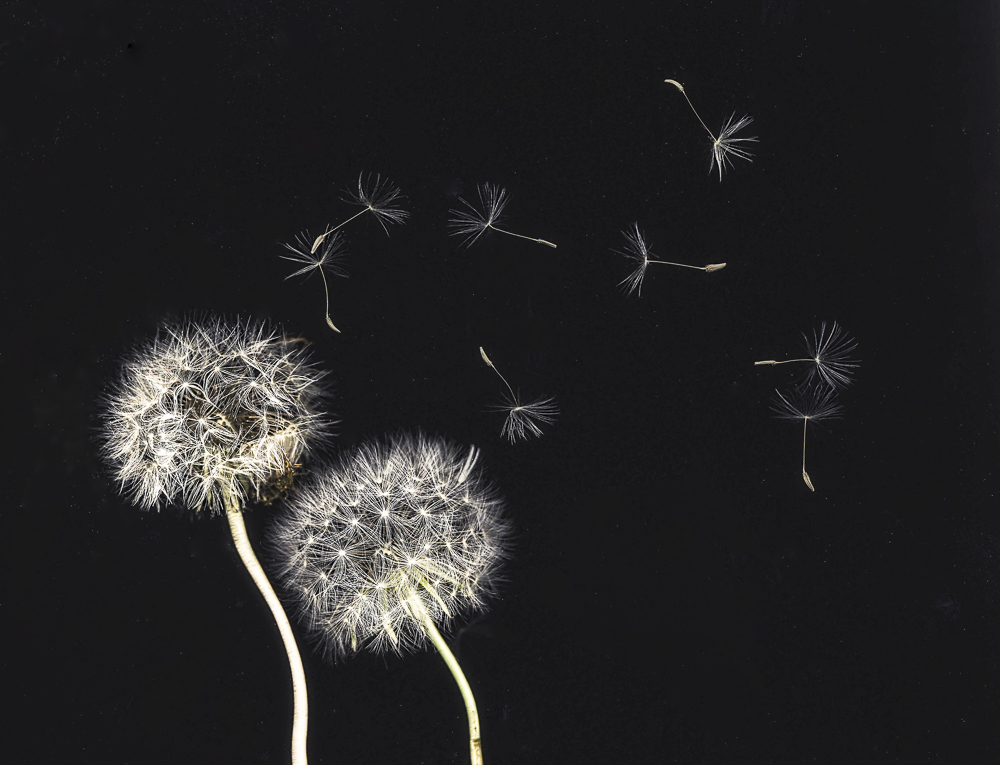
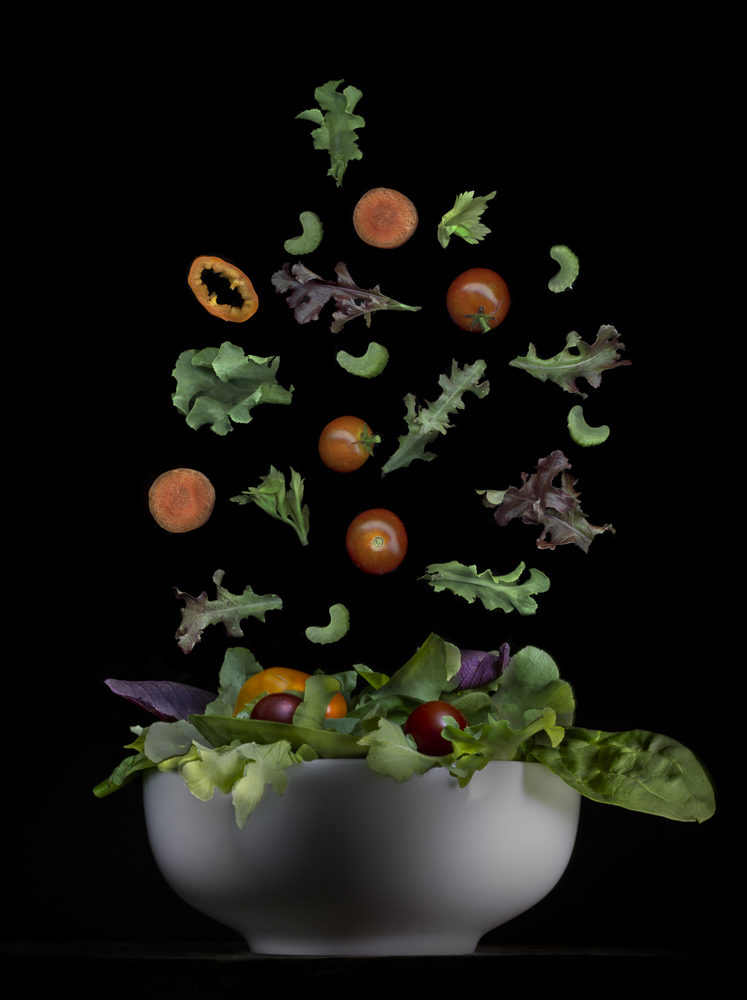
And this technique can be used to simulate motion. How about lettuce, tomatoes, and celery, falling gently to create a delicious salad? The falling vegetables were done on the scanner, then added in photoshop to a separate light-painted image of salad in a bowl.
So dust-off that scanner / copier that is in that closet and give this a try! It takes some patience, but it is worth it! here is a gallery of some more images created with Scanography. Enjoy!


Back to Photo Fun.